Lighting
BackgroundAppropriate lighting can make your subject look good and communicate a tone to the photo or video. The brightness and color of the light can play a role in telling the story. It is all about the appropriate light and shadow that corresponds to the story (Lippert, 2012).
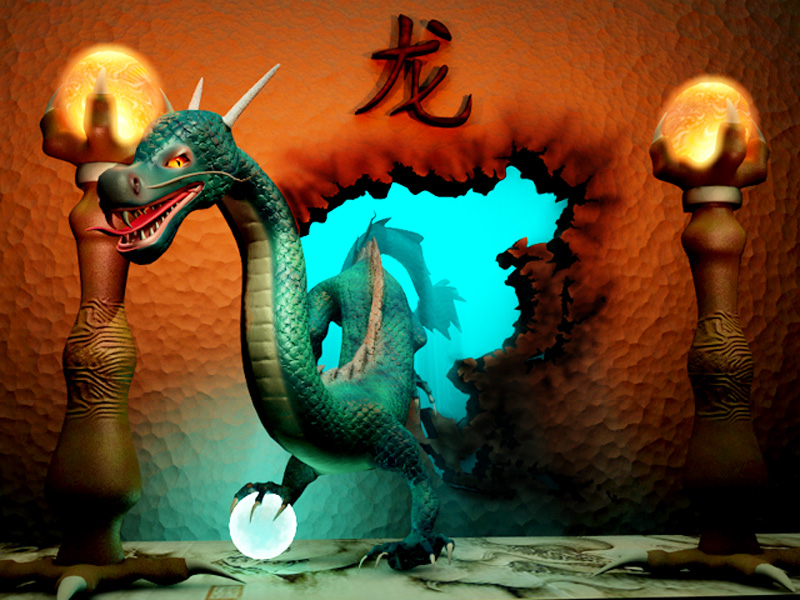
Spirit of Asia (1)
BackdropThe background communicates information even if it is neutral. The backdrop or background plays an important role in an image. It is often affected by lighting so it is discussed here.
Good lighting makes your subject look good. Light SourcesMain lights can be as simple as desk lamps or the overhead lighting in an office. It is possible to add lights. For instance, work lights from Home Hardware store - e.g. quartz lights but they tend to be hot. Keep in mind video requires a continuous light source. Banks of led or florescent lighting can work well. A colleague recently created his own bank of lights by using a large Tupperware container to mount a bank of small fluorescent bulbs and then affixed that to a pole.
Three Point LightingThree point lighting involves 3 lights; a key light a fill light , and back light. This is not a rule but does produce nice results.
Key light - Can use sun as key light and the key light should be first light you set. Set in front or slight angle. Back light - then work on the backlight next so that the subject doesn't blend into the background but should be subtle. (e.g. small led light from Home improvement store). Fill light higher than the subjects head. Soft light is better - daylight fluorescent or led panel lights. This will take away the harsh shadow from key light. Don't use too much or it becomes the key light. You can also bounce the light with some kind of reflector (e.g. foam core, Additional Notes: Sometimes a background light is useful in addition to the other 3 light. For instance, with a dark scene a small light shining on the wall behind the subject can add interest and ambience. If you don't have a dimmer on the light, then move it away from the subject or move the subject further away. The bigger the light the longer the throw. It is okay to get creative but start with the basic 3-point lighting setup. Sun lightThe sun can create great light if the conditions are right but can also create harsh shadows and overexpose skin. Opt for shooting in shadow areas or rooms with bounced sun light to mitigate that affect.
If you are forced into the bright light reflectors can take out harsh shadows (even a large white card stock will work). Try shooting with the sun from behind the subject (otherwise you get squinting and hard shadows |
PurposeThe use of lights is a way to focus the attention, add atmosphere and tone to a scene. It creates depth, highlights elements and enhances details.
toneHard light: is a harsh light with hard shadows - very little diffuse light. This kind of lighting suggests hard and rough and tough kind of a feel.
Soft light: is more diffuse light - often bounced or filtered that makes skin look smooth. Softening Light Often soft light is more pleasing and calming that harsh light. There are number of ways to achieve that. One approach is to bounce the lights of the ceiling and or the walls. You can also put up diffusion material in front of the light source. Having sunlight that comes in a window and bounces off the walls and ceiling also has a nice softness but may need to be enhanced with additional lighting. A cheap solution here is to use work lights and it can be softened wit layers of dress making tracing paper from a fabric store (large size) For a softer solution, put the tracing paper as close as you can to the subject and as far away from the light source - adjust it for the best solution. Create space\ in front of the light or bounced off the ceiling or walls. For a softer solution, Try putting the lights at different angles for different affects. Silhouetting Expose for the light background and then the subjects go dark - works best if people are side on. In the Slideshow below, consider how light affects the tone of the scene: Colour TemperatureThe colour of light sources are measured in kelvins. Try not to use normal fluorescent - results in a green tinge.
Higher temp light is cool while the lower temperature light is warm. This seems backward but that is the way it works. Try not to mix light sources unless you want special affects (e.g. daylight (blue) with incandescent (red)), otherwise colour balance will be difficult. Ensure you set white-balance - cheap tablet and iPhone type of cameras typically just have auto whitebalance which may or may not look good. Check your camera settings to determine how to set this properly. The warm tones of sunset and sunrise are excellent times to get great photos or video. It is sometime referred to as "magic hour" because if the light is right is can be soft and warm. The photo below is an illustration of this: 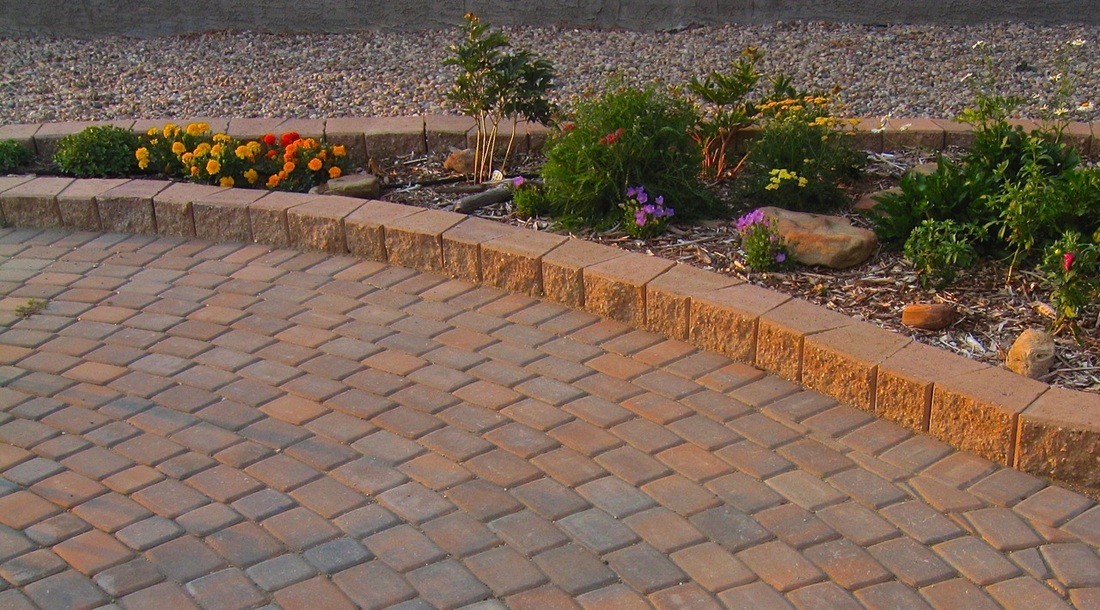
Magic Hour (1)
Choice of lights for Web CamsHere are some hints for setting up lights for a video web conferencing session:
Experiment with what works. |
on Vimeo.
References
Lippert, R. A. (2012). On camera: Video lighting for the web. Lynda.com. Retrieved from http://www.lynda.com/Business-Shooting-Video-tutorials/Camera-Webcam-Lighting-Techniques/